1, Structural base cleaning
Before
installation, clean up the scale, dirt, grease, sundry, ground garbage, repair
the uneven ground.

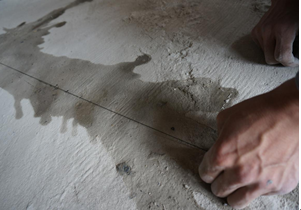
2, Location and set out installation position
Water wash the ground, set out wall position according
to design requirements; Pop-up the partition wall’s line of center, width, windows
and doors hole along the ground, wall, roof , the width of the line exactly
same like the partition wall thickness, elastic line for clean, position accurate.
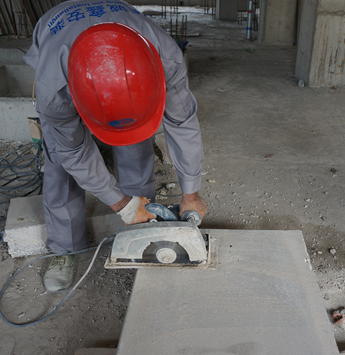
3, Sawing panel, Matching panel, panel preparation
According
to the height of structure, cut corresponding length of panel, the length of wall
panel would be less 20mm than the clear height of the floor structure.
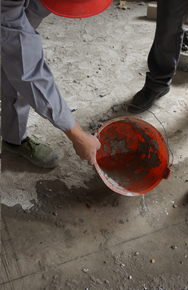
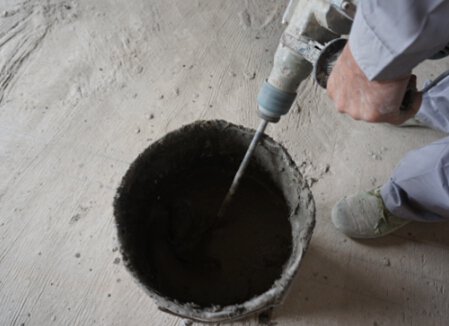
4, Sizing and installation
Stirring
cement adhesive with electric tools, mixing uniform according to the formula, moderate
dry-wet, whenever need cement adhesive then mix, and should be finished within
30 minutes. Connecting the panel with the ground, other wall, column place with
cement adhesive, centralizer the panel in place according to wall line, using
the crowbar to move wall panel, pry and crowded, and through the movement of
the crowbar, the wall moves within the line, the cement adhesive evenly fill in
the joint place, make the male and female edge compact connection,
interlocking, adhesive wedge mouths full (squeeze pulp as appropriate).


5, Temporary fixed with rubber wedge
Prepare
rubber wedge, take the hammer, the alignment, pry up the wall panel motionless,
fix with rubber wedge, tight with the hammer, due to the wall in place to the
line is coarse adjustments, plus the rubber wedge fastening involve slightly
small dislocation, generally need to set-up the fine-tuning (general flatness
adjustment within 5 mm) and the lower plate can be adjusted by pounding rubber
wedge to allowable deviation range.
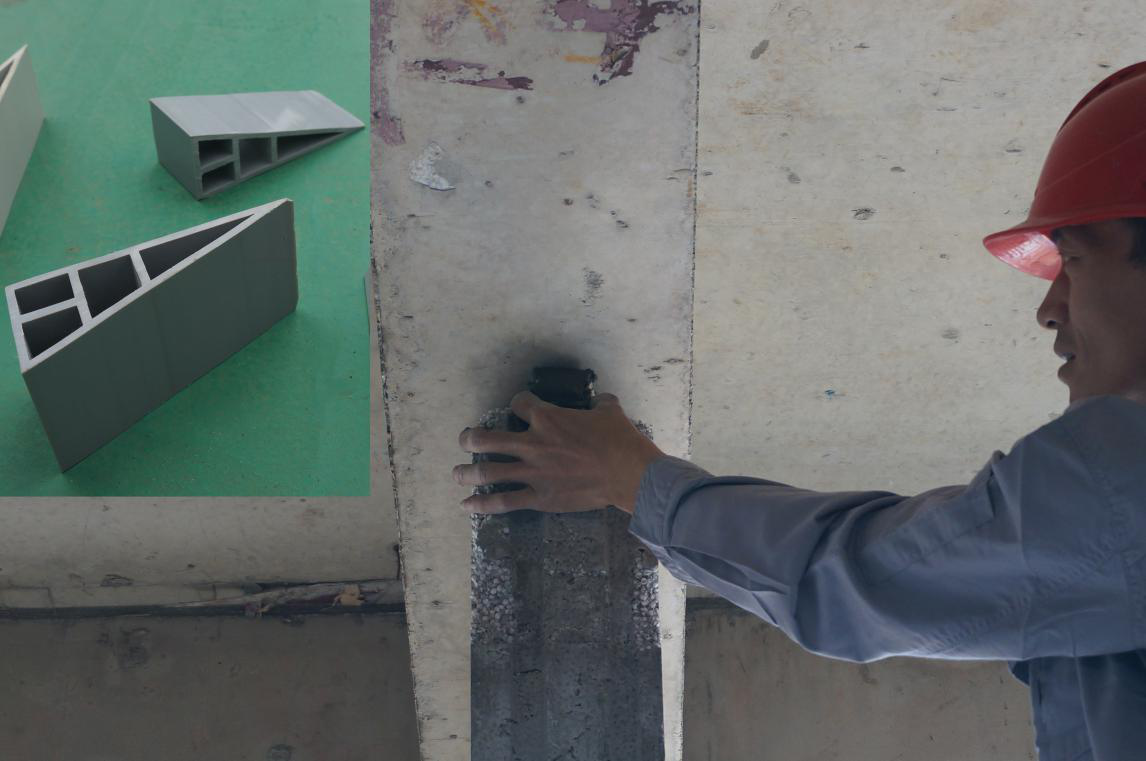
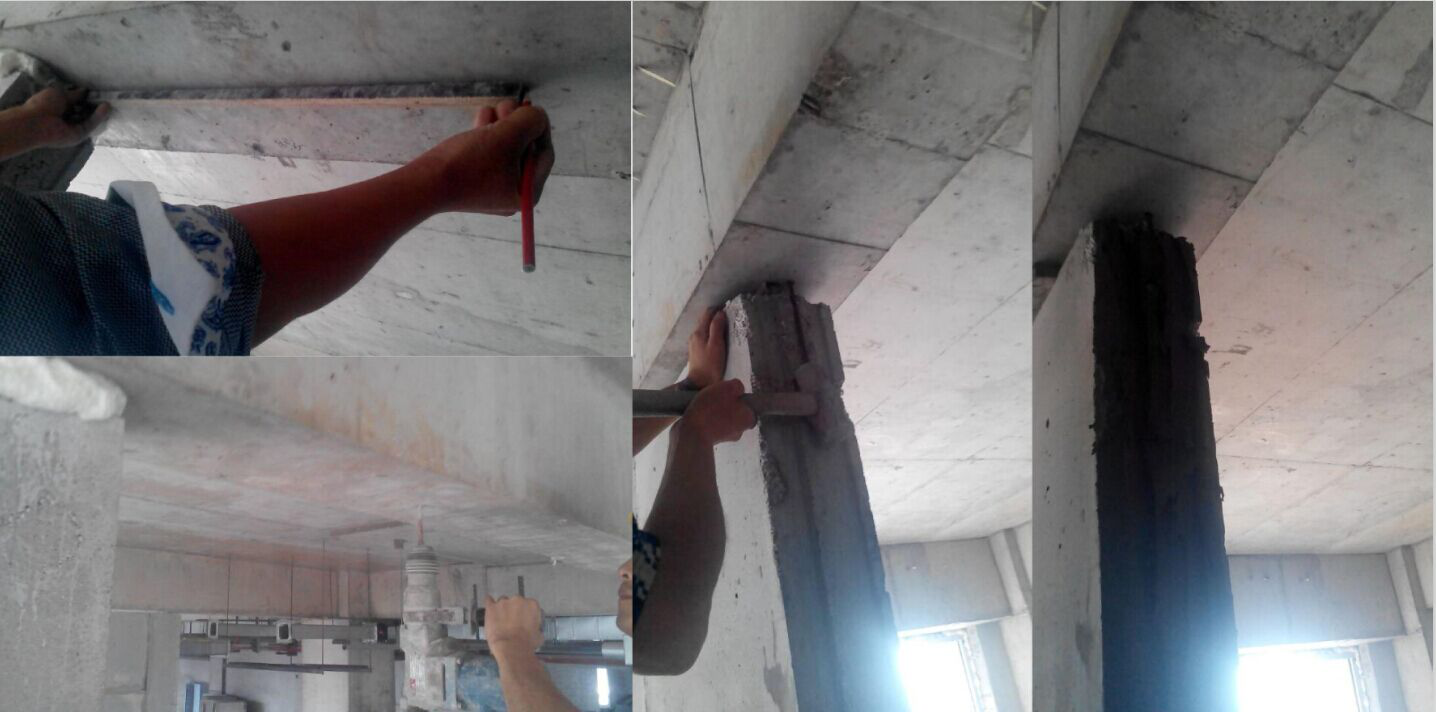
6, Filling embedded PU Foam
After
correction wall panel, filling embedded PU Foam
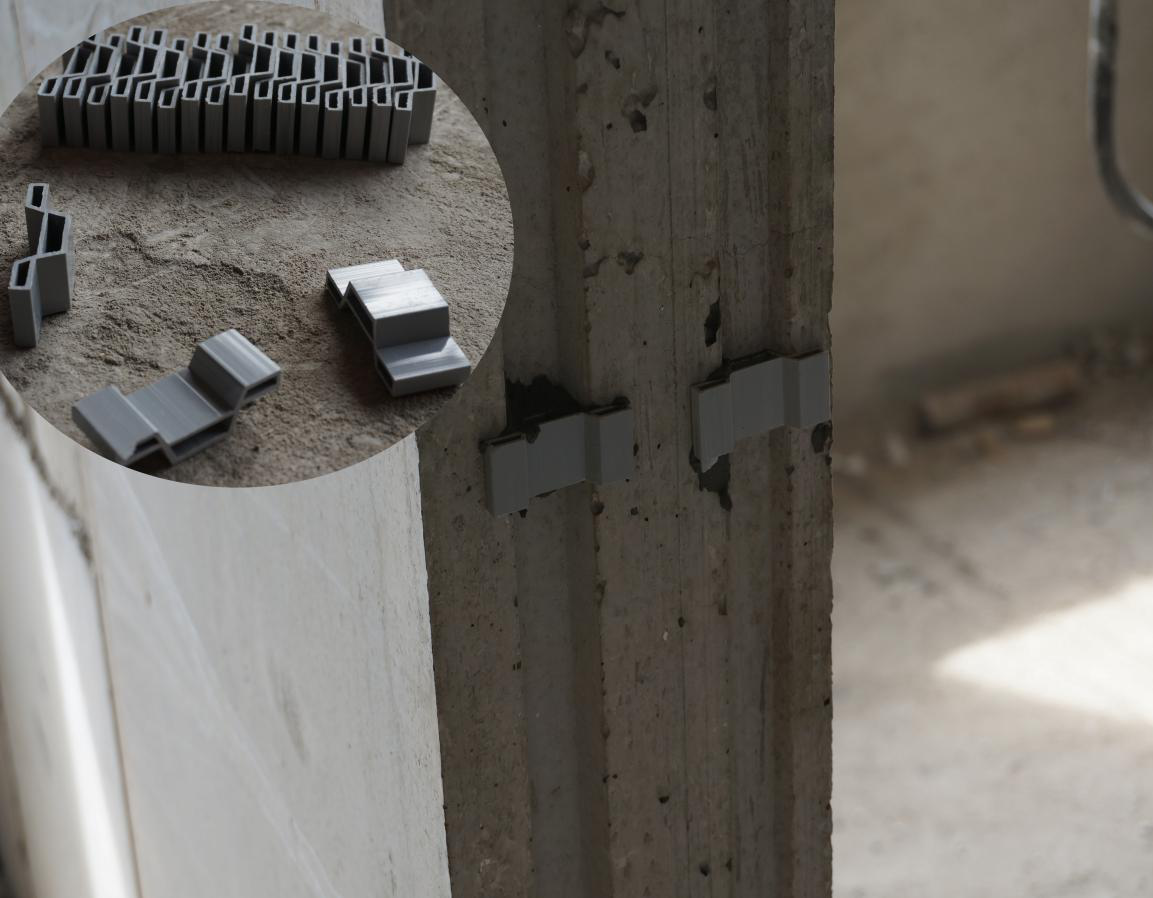
7,
Using
steel nail between the panel, between panel and beam connection use Rachel
muscles
For
earthquake requirements, according to the requirements of design, the wall
panel and structure interface, two pieces of the panel's upper and lower end
flat-fell seam and horizontal installation use Rachel muscles, Rachel,
reinforcement using 25 cm ¢6
reinforced steel bar and implant structure depth of no less than 8 cm, steel
structure should be welding. Install Rachel muscles, use steel rule measure the
embedded point, when installation panel close to embedded point, filled the
hole with adhesive, use the hammer hammer the Rachel muscles into the embedded
hole.
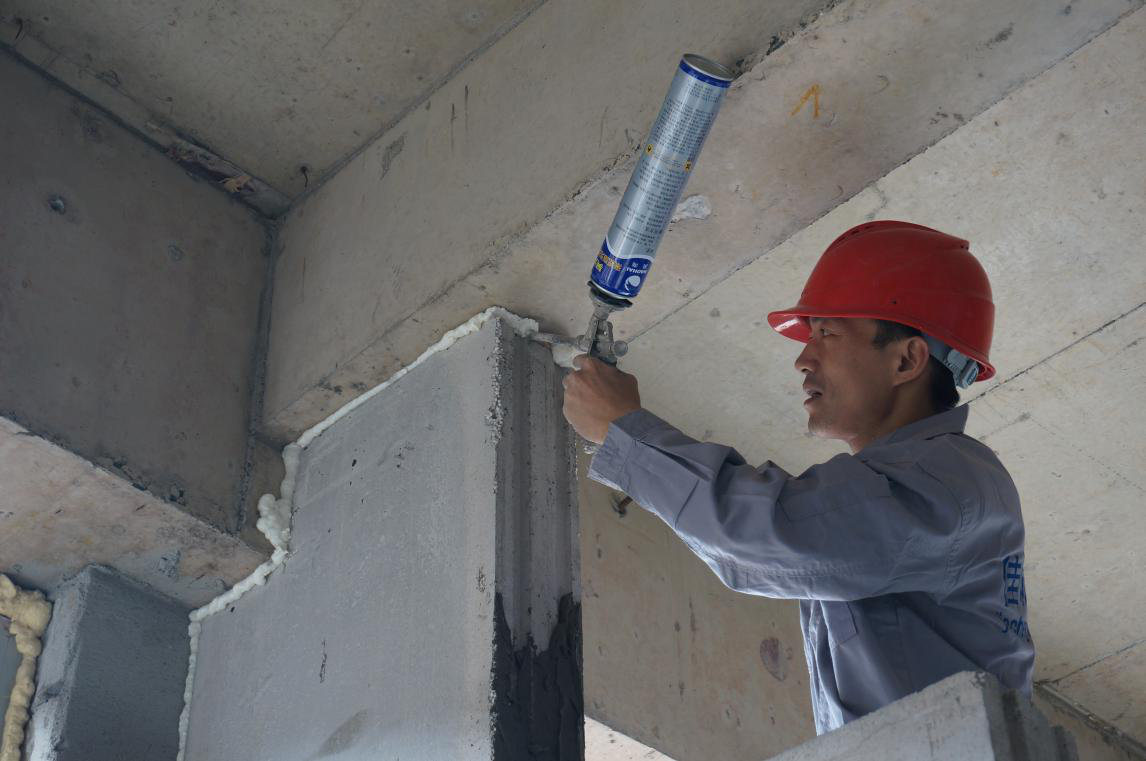
8, Reserved expansion joints
The
length of the straight wall more than 4 meters, each six panels set one expansion
joints, a joint use of 10 mm thick DAQUAN dedicated telescopic piece control
width of expansion joint, then use PU Foam sealing agent.
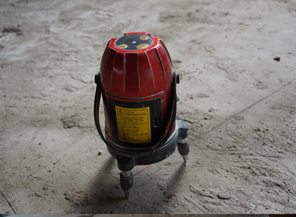
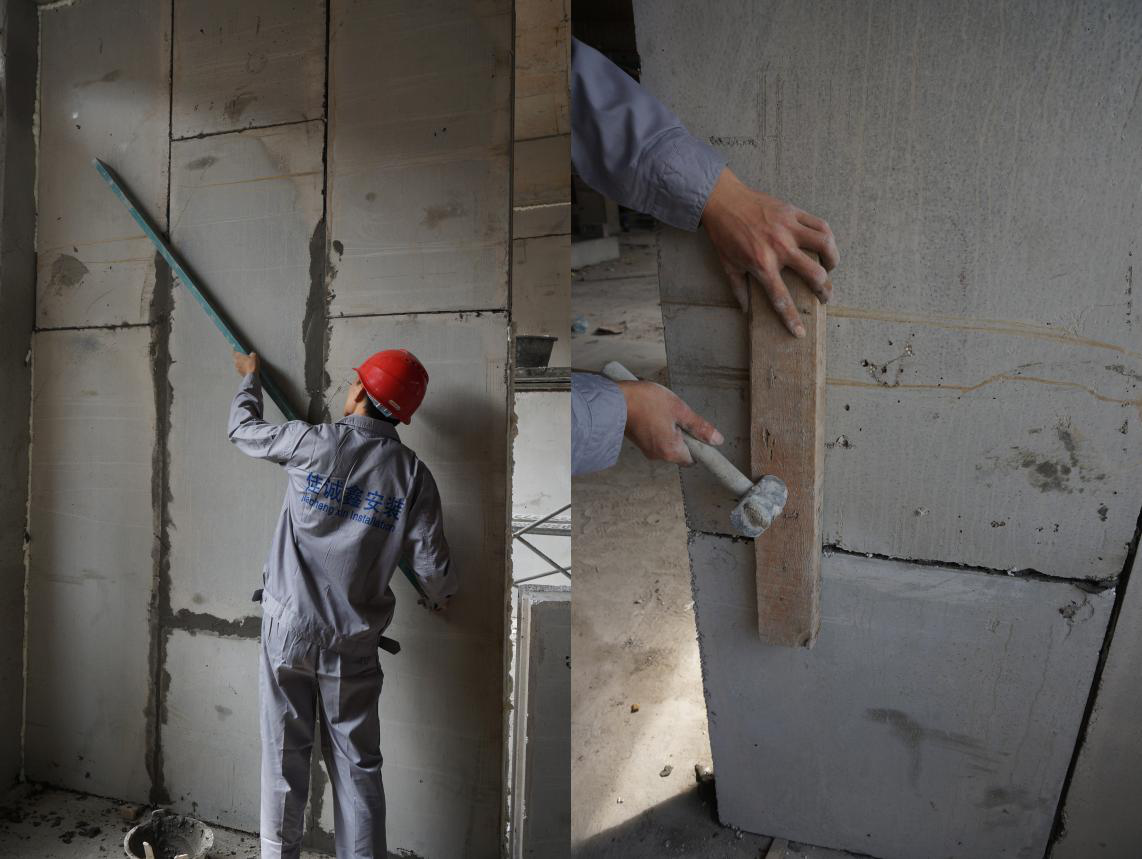
9, Correction
For correction, one person take guiding rule close to the wall surface measuring perpendicularity,
smoothness, on the other hand take the hammer hit rubber wedge. Adjust panel
rough top: a person take guiding rule, another person take wood square against
the wall, slight tapping with a hammer for correction (do not directly hit the
wall with hammer). Repeat check flatness, squareness, until meet the
requirements (Check the vertical degree the aluminum alloy rule should hang line hammer). After
correction according to the requirement flatness, squareness, then using scraper
to evenness the extrusion and lack of mucilage, installed in turn.
10, Grouting, pulp
Filling
and striking the correction panel seam with adhesive

11, Self-checking inspection, quality acceptance
After
installed, overall acceptance, and fill in, paste the acceptance form.

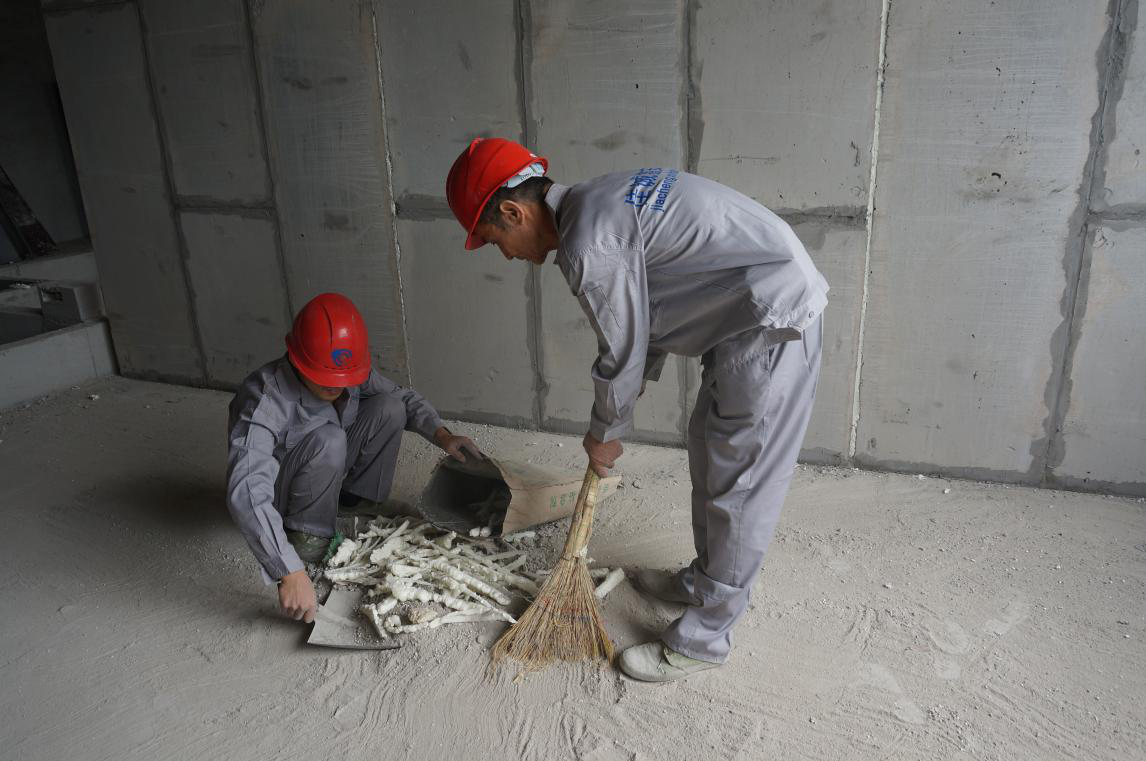
12, Work out a clear, civilization construction
After
each class assignments, clean up the construction of the construction waste and
placed in designated places.